

Create your own lighting plan? Creating more atmosphere with lighting? Whether it is pendant lamps, spotlights, wall lamps, table lamps or floor lamps, there is so much to choose from…. But creating a lighting plan is easier than you think!
“In what places should I place lamps?” or “What kind of lamps should I buy?”
Do you also struggle with these kinds of questions? Then I’m going to surprise you now! I’m going to explain step by step how you create a lighting plan.
See here: a complete step-by-step plan for creating a lighting plan!
Table of contents
- Wat is een lichtplan?
- Waarom jij met een lichtplan aan de slag moet
- Hoe maak je een lichtplan?
- Maak een plattegrond van jouw ruimte
- Stel een lijst op met de functies in elke ruimte
- Teken ovalen cirkels voor de verschillende activiteiten
- Begin met de basisverlichting
- Bepaal de functionele verlichting
- Teken de sfeerverlichting
- Voeg accentverlichting toe
- Volledig vlekkenplan
- Gebruik dimbare lampen
- Kies passende armaturen
- Gebruik de juiste kleurtemperatuur
- De puntjes op de i voor een perfect lichtplan
- Het uitvoeren van jouw lichtplan!
- Veelgestelde vragen over een lichtplan
What is a lighting plan?
A lighting plan is a floor plan showing where what type of lighting will be placed. The floor plan is simple, but it includes the layout of furniture and the locations of outlets and receptacles.
Why you should get started with a lighting plan
When I walk along the canals in Amsterdam at night, I often notice one thing: most of the houses fortunately have atmospheric yellow lights, but a few stand out with their white lighting. In this case, you’d rather not stand out with your white light. Conclusion: the right lighting can make or break the atmosphere.
With a lighting plan, you can create a warm atmosphere in your space through lighting. Also, with a lighting plan, you make sure you have lighting in the right places to perform your activities. Based on the different activities in your space, determine the type of light, light sources and fixtures.
So making a lighting plan is actually just as important as making a color plan for your interior, for example!
With a thoughtful lighting plan, you will create the coziest atmosphere and have the right lighting in every place!
When do you make a lighting plan?
Are you moving or remodeling? Then it’s helpful to create a lighting plan early on. You may have the ability to move electrical points, or in the case of new construction, even determine them. For example, consider installing dimmable spotlights in your kitchen.
Even if you continue to live in your current home and are unhappy with your lighting, creating a lighting plan is the solution. Often there is more possible than you think, using lighting to improve the atmosphere in your home.

How do you create a lighting plan?
I am convinced that with the right information, anyone can create their own lighting plan!
I’ll write out the steps for you!
Create a floor plan of your space
We start by drawing a floor plan of your space. This can be done simply with pencil and paper, or if you want to go professional, you can also use the free version of SketchUp. Draw the floor plan including connection points, outlets and furniture.
Once you have drawn the floor plan, I recommend copying it so that you have a total of 3 copies.
In the example, I have drawn a simple floor plan of my living room.
Note: my living room does not have a connection point in the ceiling for a pendant lamp! In fact, there is a beautiful ornament on the ceiling and I don’t want to have it removed to make a connection point. I’ll show you that you can create enough light in your living room without a ceiling lamp. Of course, if you do have a connection point in your ceiling, this is only convenient!
List the functions in each room
Now that you have drawn the floor plan, start writing down the functions in each room. By functions, I mean the activities that take place in, say, your living room. Write the activities for each room below.
Activities living room:
- Watching TV
- Receiving visitors
- Reading
- Playing games
Draw oval circles for the different activities

We are now going to use one of the three copies of your floor plan to indicate the locations where the activities are taking place in your space. In these places we draw oval circles. In the circle write the name of the activity, such as “watching TV.
Multiple activities may be taking place in the same place in your space. This, of course, is not a problem. Then write these activities below each other in the same circle.
If all goes well, you now have a map of your space with oval circles in which you have written down the various activities. Is this correct? Super, then you can move on to the next step!
Start with the basic lighting
Put your map with oval circles in front of you and under it put a second copy of your map. In this empty floor plan we will now create a real spot plan. It is convenient to use different colors of pencils for this purpose. We start by drawing the basic lighting. Basic lighting is the general lighting needed to fully illuminate a room.
- Direct base lighting: The light that shines directly on a surface, such as recessed spotlights.
- Indirect base lighting: The light that is evenly distributed in a room because the light is reflected or filtered by a fixture. For example, a ceiling lamp or pendant lamp.
Take a yellow pencil and draw circles on your floor plan in places where the basic lighting should be.
Determine the functional lighting

Functional lighting shines in places in your home where you need bright light. Consider a reading light next to your sofa or spotlights above your kitchen sink. Functional light may be cool so that you have adequate visibility.
Now use a blue pencil and draw blue circles in the places where you need functional light. Keep in mind your own shade, such as while cooking. Draw the spotlights straight above your countertop so that your own shadow doesn’t block the light.
Draw the mood lighting
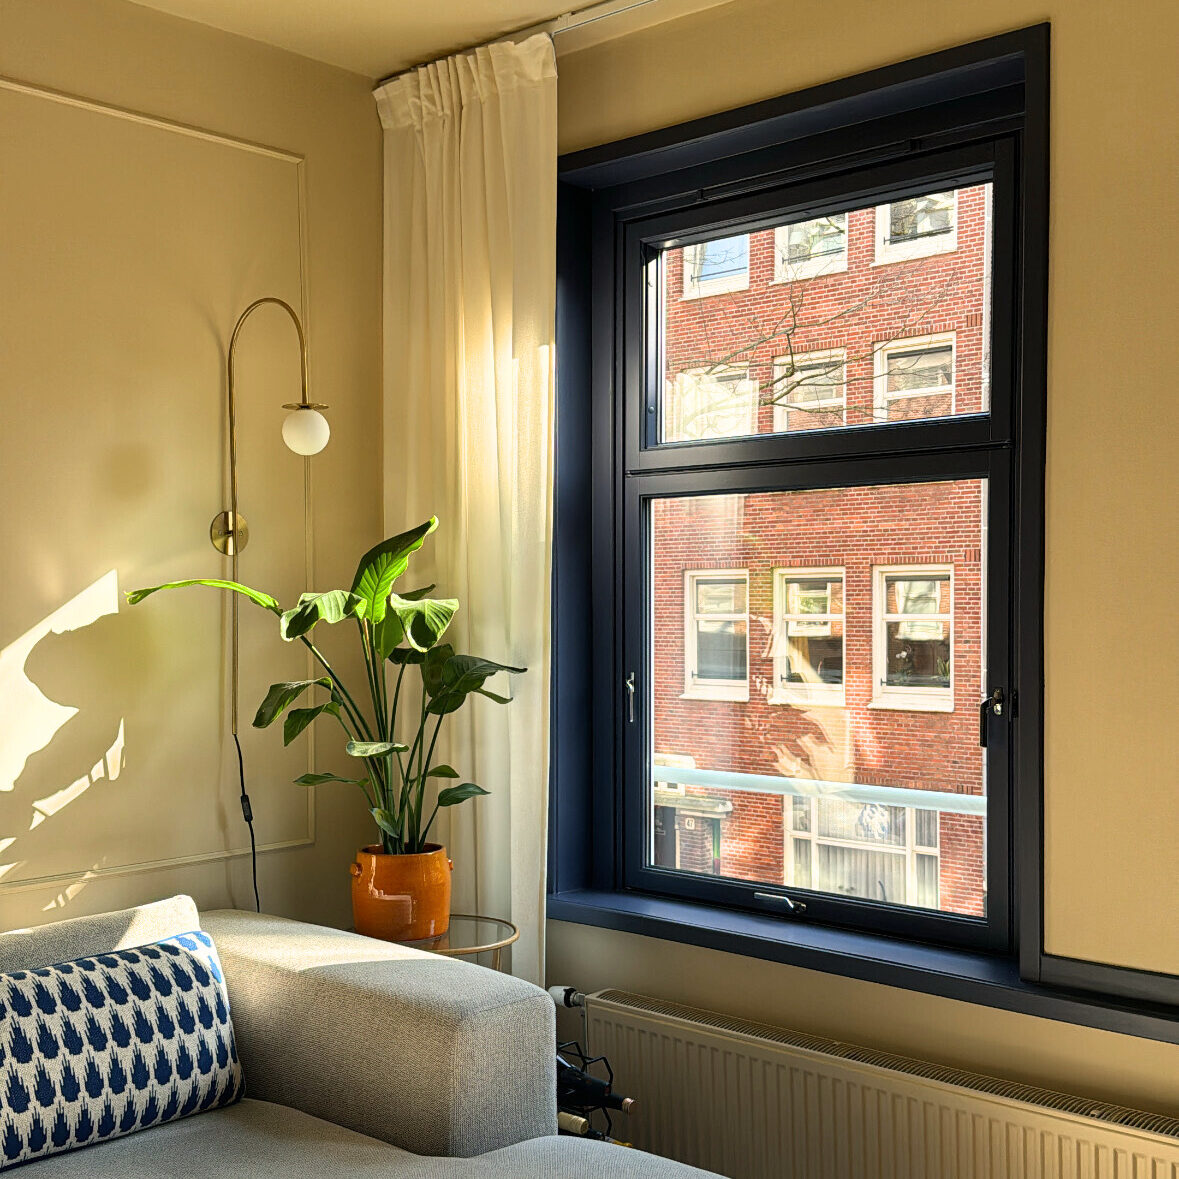
I like the mood lighting the best! With these you can make a room really cozy and illuminate empty dark corners, for example, a beautiful floor lamp or wall lamp.
Use an orange pencil to draw circles in the places where you want mood lighting. Think of places where there is room for a floor lamp, as well as a table lamp or a wall lamp.
Add accent lighting
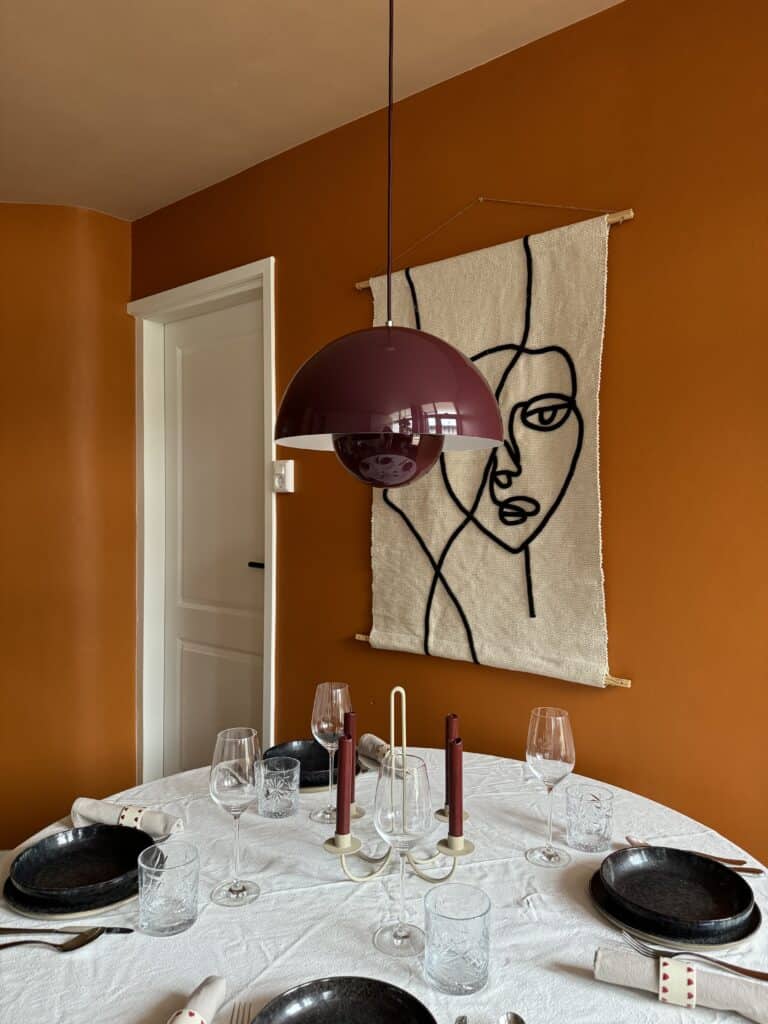
Accent lighting is light directed at a specific point to accentuate it. Perhaps you have a beautiful piece of art on your wall that you would like to make stand out. This is the perfect place to use accent lighting to illuminate the artwork at night. For example, you can use an adjustable ceiling spotlight or hang a wall lamp above your artwork.
Using a purple pencil, draw a circle for the accent lighting. Often this is only in one or a limited number of places in your space.
Full spot plan
You have now created a spot plan with circles in different colors to indicate functional, basic, ambient and accent lighting. If desired, you can make all the circles yellow (and possibly color them in) so you won’t be distracted by the different colors. Use the third copy of the map for this purpose.

Use dimmable lamps
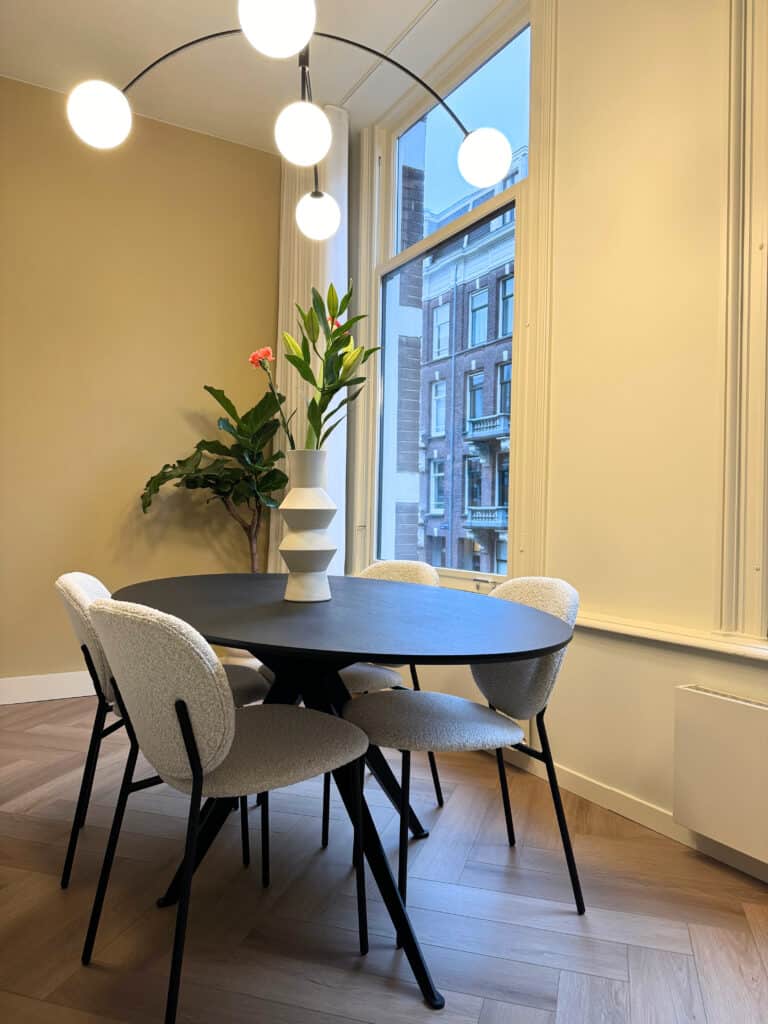
Depending on the activities taking place, you probably want to be able to dim certain lights. An example is the pendant lamp over your dining table. You might use this lamp in the evening to work on, but at dinner on the weekend, you don’t want to sit in a bright spotlight. In that case, a dimmable lamp is the solution.
Do you like convenience and the latest gadgets? Then choose Philips Smart LED bulbs. You can easily control these smart lights with the WiZ app, WiZ-mote or even with your voice.
Another advantage of long-lasting dimmable light sources, is that they help save energy . By adjusting the brightness according to your needs, you not only maintain the desired atmosphere, but also use less energy. In short, with dimmable bulbs you have complete control over the atmosphere in your home!
Choose appropriate fixtures
Choosing the right fixtures (lamps) is really important if you want to create a good lighting plan. This is because which fixtures you choose determines how the light spreads and how bright it is in your space.
Therefore, it is important to choose lamps that not only fit your interior style, but are also useful for the activities in your space.
Whether you go for ceiling lights that diffuse general light, sconces that provide focused light in specific areas, or floor lamps that add atmosphere to a corner, the right fixtures play a big role in creating a well thought out lighting plan.
If you think carefully about which lamps best suit what you want to do in each room, you can create just the right atmosphere and functionality, making your lighting plan really come to life!
In my example, I added lamps from Nordic Nest (no spon). These are not the lamps I have in my house, as many of these are no longer for sale.

Use the right color temperature

Another important point when choosing lighting is the color temperature of the light. It’s not all about white light!
Consider the coziness of warm yellow light in the living room, while in the kitchen, some cooler, brighter light might be useful.
By paying attention to the color temperature, you add atmosphere to any room. So, experiment with different shades until you find that perfect glow that makes your home shine.
Tip: Later in the article, I answer frequently asked questions and explain the common terms Wattage, Lumen and Kelvin.
Connecting the dots for a perfect lighting plan
I recommend you set aside the lighting plan for a while. At least a day. Preferably a weekend. You will find that during that time you may get new ideas for your lighting plan. Perhaps you forgot an activity for which you need light, or overlooked a corner of your space that needs lighting? Review your floor plan again and make any adjustments. Are you satisfied? Then your lighting plan is all set!
YES! Your lighting plan I ready!

Implementing your lighting plan!
You can now get started on the fun part! Namely, implementing the lighting plan so that you will soon have a cozy atmosphere in your home!
If you follow the above steps correctly, you will definitely have a good lighting plan. Moon because of the many components of a lighting plan, you may still want to seek professional help.
As an interior stylist, I can create a lighting plan for you. This will save you a lot of time and this way you can be sure that you will soon have a cozy lit house.
Get in touch via the contact form or send me a message on Instagram. Together we bring extra atmosphere to your space!
Frequently asked questions about a lighting plan
What does Wattage, Lumen and Kelvin mean?
You’ve probably already come across the terms Wattage, Lumen or Kelvin when creating a lighting plan. But what is wattage? What is Lumen? And what is Kelvin? I’ll explain it to you!
Wattage indicates how much energy a bulb consumes. Now that modern, energy-efficient lighting is often used, such as LED bulbs, the main focus is on lumens rather than wattage.
Lumen indicates the brightness of a lamp. The higher the lumen number, the brighter the light. So look carefully at the function of the lighting. For ambient lighting, use a lower number of lumens than for functional lighting. For living room lighting, it is best to keep 200 to 300 lumens per square meter.
Kelvin indicates how warm (yellowish) or cold (bluish) a lamp’s light is. The lower the kelvin values, the warmer and cozier the light is. For the living room, it is best to choose a Kelvin value between 2400 and 3000 Kelvin.
WATTAGE?
LUMEN?
KELVIN?
How many lamps do you need in a room?
Did you know that it is recommended to use 5-7 light sources per room for a warm atmosphere? Check out the video of the light sources in my living room! Since our living room is only 16m2, 5 light sources are enough for us!
5-7 lamps per room
Floor lamp, wall lamp or ceiling lamp?
A smart strategy is to use layers in your lighting design. Divide your space into 3 horizontal layers and make sure each layer is well lit. For example, consider a combination of a floor lamp, a wall lamp and a ceiling lamp in the bedroom.
Divide your space into 3 horizontal layers
How high do you hang a pendant lamp?
The height at which you should hang a pendant lamp depends, among other things, on the function of the room and the height of the ceiling. It is generally recommended that a pendant lamp be hung about 60 to 70 inches above the table or work surface in spaces such as the dining room or kitchen.
Pendant lamp 60-70cm above the table
Love, Dinja
I really like it if you let me know below if you managed to create your own lighting plan. Of course, you can always send me a message with your questions! I would love to help you!

